Terminal Settings
In EPASS, Terminal Settings allows you to setup individual EPASS configurations (defaults) for computers in your business network. This means that you can set defaults for adding invoices, pickup and delivery locations, and what print, email and text forms can be used. It is best practice to give each EPASS user their own terminal ID but sharing an ID between multiple users can be done.
You can setup terminals for each branch via Tools > System Maintenance > Tables > Branch > Terminals.
You can get to your terminal settings via File > Terminal Settings.
Branch and terminal IDs are configured on the EPASS shortcut as an argument.
Terminal

Provide a code for the terminal and set the defaults you want. Typically, the invoice type, payment type, and salesperson code are filled in. You can fill in any additional fields you need. The code is what is used in the shortcut.
Printers
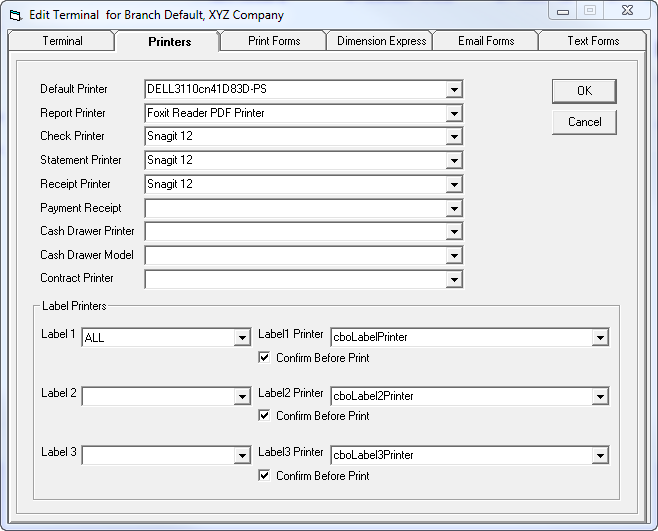
Use the drop down to select the printer for the function. Ensure your default printer is not a label printer; you'll need to check the default printer in Windows too. You will need to uncheck "Let Windows manage my default printer" to ensure it never selects a label printer as this will cause errors.
Print Forms
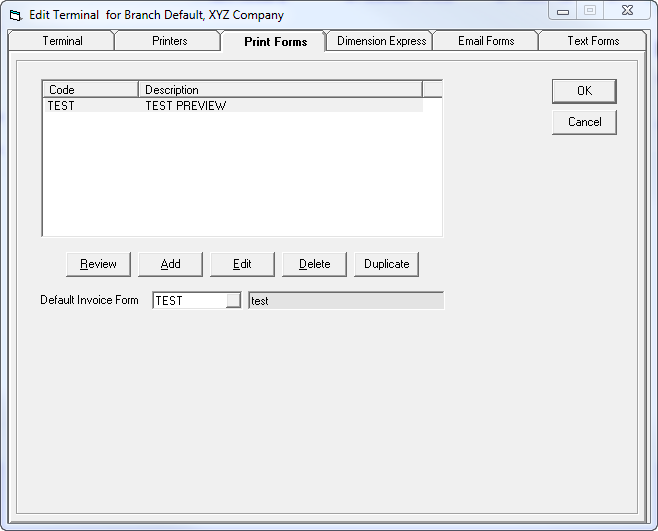
This screen will display all existing print forms available to this terminal ID.
You will also see a default print form which will allow the print button on invoicing maintenance screen to automatically execute when selected.
When you add, edit, or review any of the print forms, you see the following:
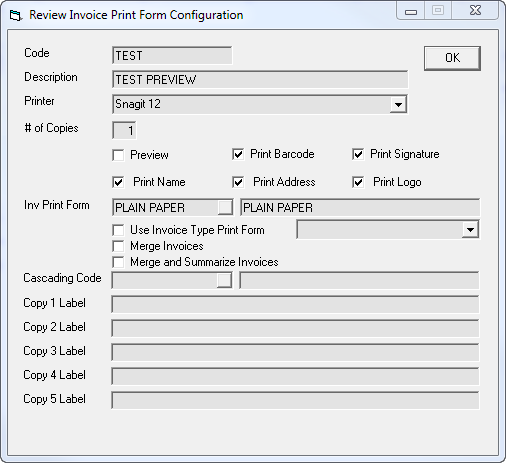
You need to provide a code and a description as well as the printer this print form will use.
Select the number of copies you want and what you want to print. You cannot have all of your print forms set with the 'preview' box checked; at least one must be unchecked.
You can use the drop down beside Inv Print Form to select the different print forms available or you can select to use the print form configured in the invoice type.
Dimension Express
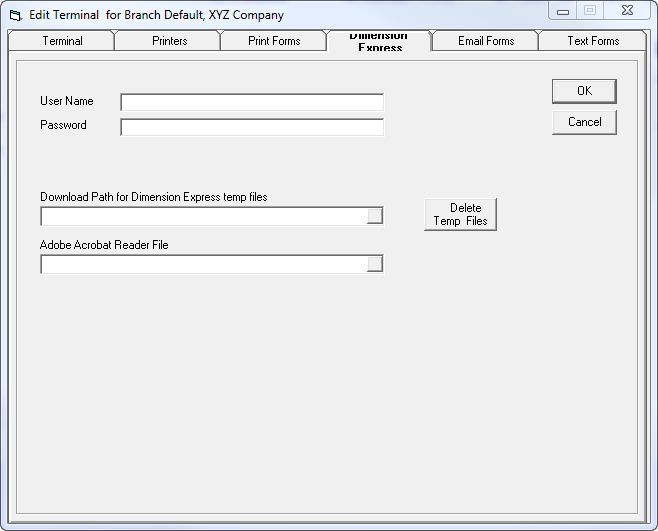
Fill in the details.
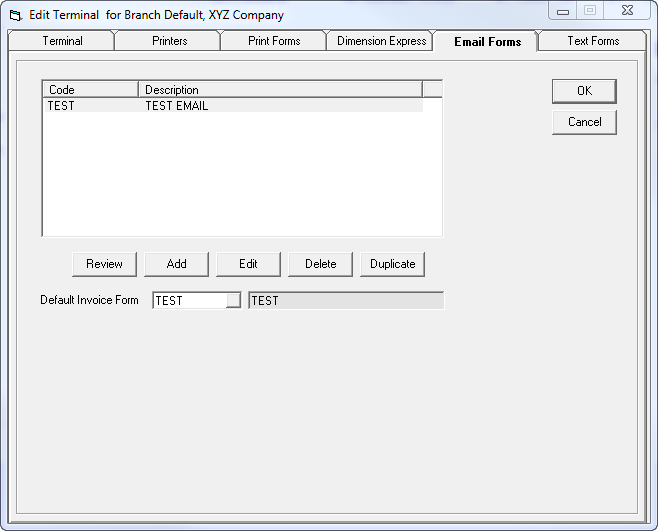
Email Forms
 -
-
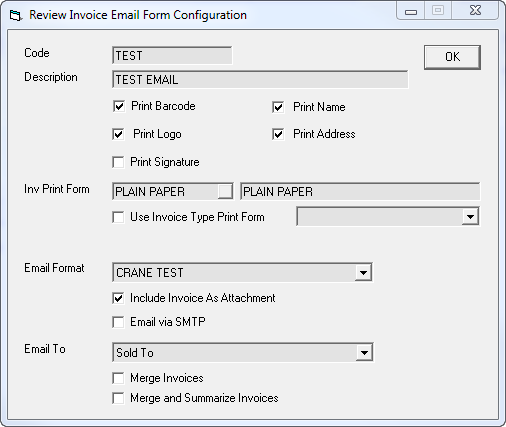
Much like the print forms, email forms displays the email forms that are available. If you click add, edit, or review, you see the following:
 -
-
Most of this screen is the same as print forms. Email formats are setup in Tools > System Maintenance > Tables > Email Formats.
Select whether you are sending the email to the 'Sold to' account or the 'Bill to' account or both. You can select to merge invoices or merge and summarize.
Text Forms
 -
-
You are presented with all the text forms you have access to. Check the ones you want to be able to use.
Text formats are setup in Tools > System Maintenance > Tables > Text Formats.